This week’s challenge uses data I collated from the stats vest my daughter wears during her football matches and training sessions. The data provided is already pre-filtered to the 2024-25 season and her Reading U15 team.
If you want to watch a video which demonstrates the concept then this video by Andy Kriebel will help. But if you prefer to read, then carry on 🙂
Building out the calculations
In creating this chart we need to normalise all the different stats we want to show; that is we want to convert every measure into a spread between 0 and 1. To do this we calculate the difference between the value and the minimum value as a proportion of the full range of values (that is the difference between the min and max values). We use table calculations for this.
Total Distance (km)
(SUM([Distance – Total (KM)]) – WINDOW_MIN(SUM([Distance – Total (KM)])))
/
(WINDOW_MAX(SUM([Distance – Total (KM)])) – WINDOW_MIN(SUM([Distance – Total (KM)])) )
format to 4 dp
Distance / Min (m)
(SUM([Distance per Min]) – WINDOW_MIN(SUM([Distance per Min])))
/
(WINDOW_MAX(SUM([Distance per Min])) – WINDOW_MIN(SUM([Distance per Min])) )
format to 4 dp
HSR Distance (m)
(SUM([HSR – Total (M)]) – WINDOW_MIN(SUM([HSR – Total (M)])))
/
(WINDOW_MAX(SUM([HSR – Total (M)])) – WINDOW_MIN(SUM([HSR – Total (M)])) )
format to 4 dp
HI Distance (m)
(SUM([HI Distance – Total (M)]) – WINDOW_MIN(SUM([HI Distance – Total (M)])))
/
(WINDOW_MAX(SUM([HI Distance – Total (M)])) – WINDOW_MIN(SUM([HI Distance – Total (M)])) )
format to 4 dp
Max Speed (m/s)
(SUM([Speed – Max (m/s)]) – WINDOW_MIN(SUM([Speed – Max (m/s)])))
/
(WINDOW_MAX(SUM([Speed – Max (m/s)])) – WINDOW_MIN(SUM([Speed – Max (m/s)])) )
format to 4 dp
NOTE – in my solution I called these fields Norm – xxxx . After putting on the chart, I aliased them to the names above. Creating with the actual names I used is the simpler solution 🙂 I don’t know why I didn’t just rename them…
On a new sheet, add Game ID to Rows, and then add all the original key measures and their associated normalised values into the table, so each original measure is next to its normalised value. If you sort by one of the original measures from largest to smallest, you should see that the associated normalised value is distributed from 1 at the top of the list to 0 at the bottom.

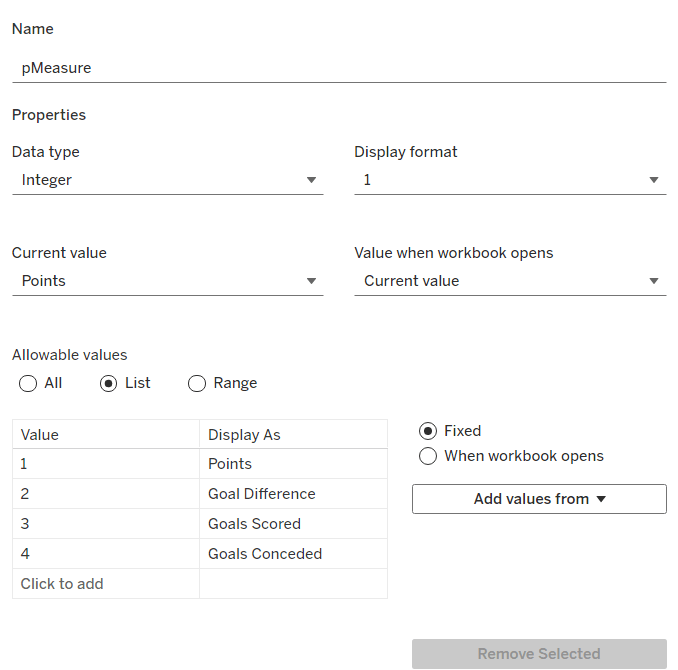
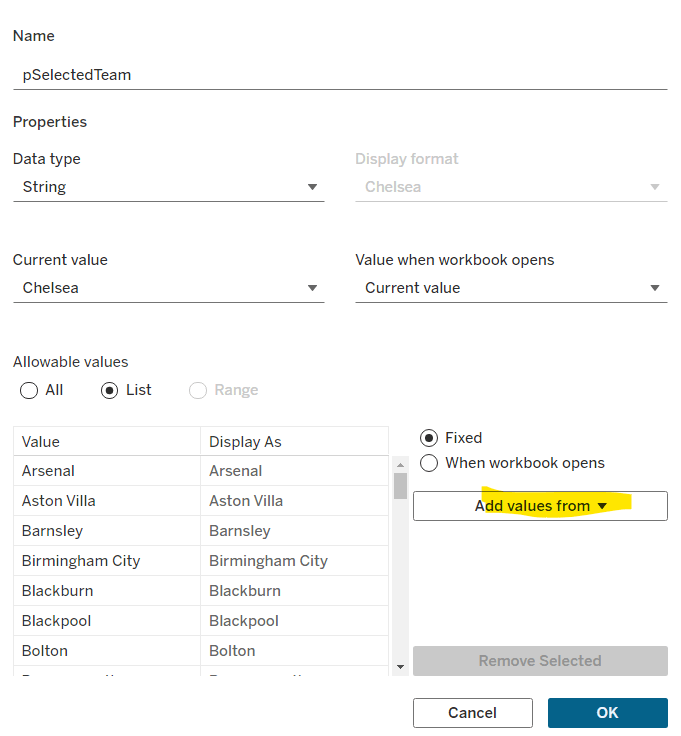
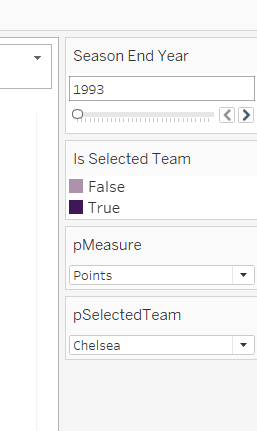
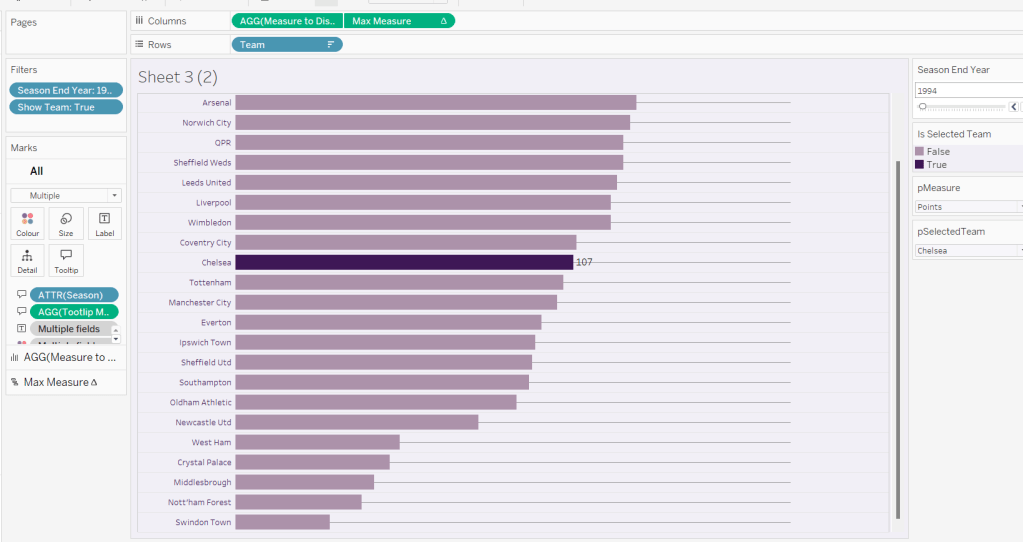
The other key requirement for this viz is to identify a selected opposition. For this we create a parameter based on the Opposition field. Right click on Opposition > Create > Parameter and the following dialog with the list of opposition teams pre-populated will display. I set the default as Chelsea Ladies U14
Opposition Parameter

The create a new field
Highlight Match
[Opposition] = [Opposition Parameter]
Show the Opposition Parameter control and add Highlight Match to Rows.

Now we can start building the viz.
Building the chart
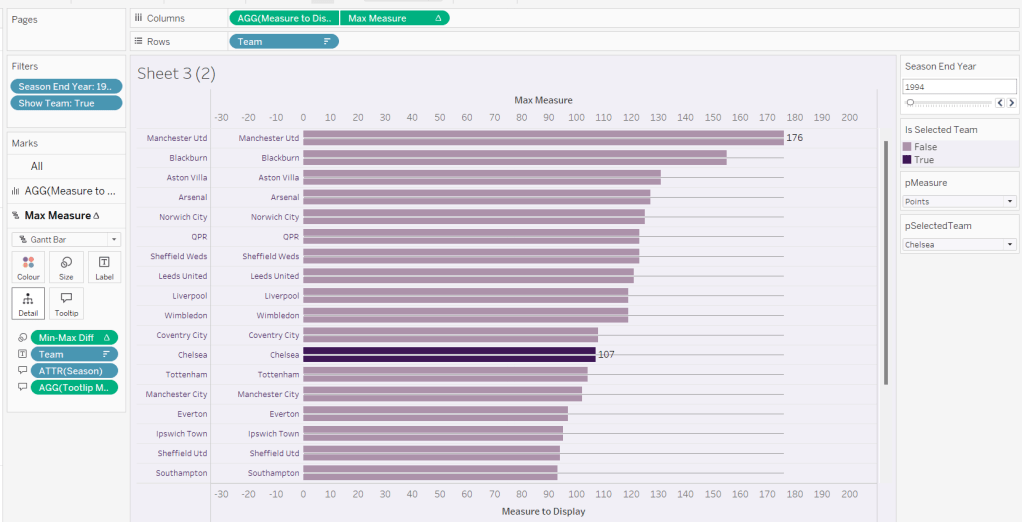
On a new sheet, add Game ID to Detail, then add Total Distance (km) to Rows. Adjust the table calculation of the field to be computing by Game ID.

Then add Distance / Min (m) onto the sheet, by dragging the field and dropping it on the y-axis when the 2-column icon appears

This will automatically add Measure Names and Measure Values into the display, including a Measure Values ‘box’

Adjust the table calc of the Distance / Min (m) field to compute by Game ID. Reorder the fields in the Measure Values box, and then change the mark type to line. Set to Fit Width.

Add the other 3 normalised fields into the view, by adding the field into the Measure Values box, and adjusting the table calc each time.

We now have the core viz, we just need to format it and add the additional features.
Show the Opposition Parameter control. Add Highlight Match to the Colour shelf. Adjust colours and re-order so True is listed first. Adjust all the table calcs in the 5 measures so they are also now computing by both Game ID and Highlight Match.

Now add H/A to the Detail shelf and change to be an Attribute (this means by default it is excluded from the table calcs, so we don’t need to make all those adjustments again). Then change the icon to the left of the pill from Detail to Colour, so there are now two fields on the Colour shelf. Adjust to suit.

Add Highlight Match to the Size shelf, and then adjust the size to be reversed, so the True lines are thicker.

Create a new field
Label: Opposition
IF [Highlight Match] THEN [Opposition] END
And add this to the Label shelf and set to be an Attribute. Adjust the Label property so it’s just labelling the line ends and label end of line. Ensure labels set to overlap to, and set font to bold and to match mark colour and align top right.

Alias the field H/A (right click field > aliases) so they display as Home and Away. Then add the following fields to the Tooltip : Category, Cup/League, H/A, Opposition, Round and Date. Also add the following measures to the Tooltip : Distance – Total (KM), Distance per Min, HI Distance – Total (M), HSR – Total (M), Speed – Max (m/s). Then adjust and format the Tooltip
To create the vertical lines, add another copy of Measure Values to the Rows which will create a Measure Values (2) marks card. Remove all the fields from this card except the Game ID. And then move Game ID to the Path shelf which has the effect of creating the vertical lines

Adjust the Colour of the line and then add Measure Names to the Label shelf. Set the label to Min/Max by pane, for the Measure Values field. Align centrally.

Set the chart to dual axis and synchronise the axis. Hide all the axis, and the Measure Names labels at the bottom (uncheck show header against the pills). Remove all row/column dividers and gridlines/zero lines etc. Set the background colour (if desired).

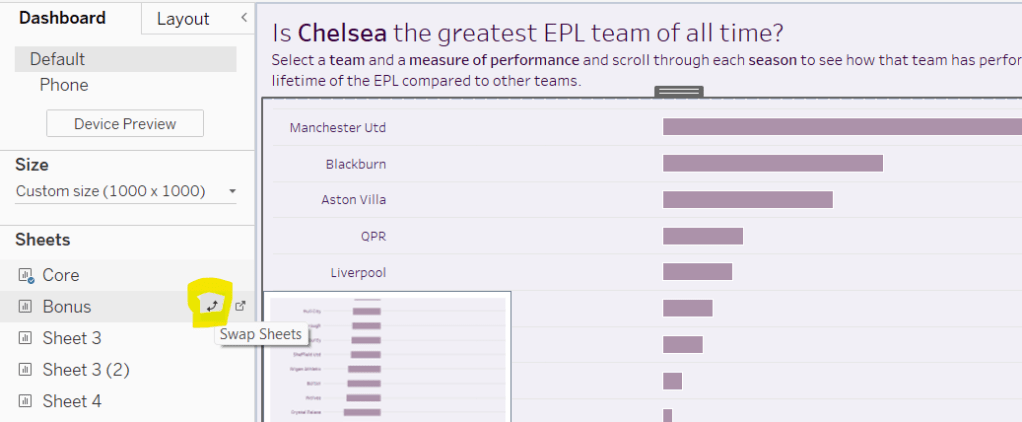
Adding the interactivity
Add the chart to a dashboard then create a dashboard parameter action
Set Opposition
On select of the viz, set the Opposition Parameter parameter, with the value from the Opposition field. Set the value to <empty> when cleared.

Adding the information panel
Add a floating Text object onto the dashboard. Copy and paste the information from the challenge page. Resize and reposition the text box as required. Set the background of the text object and add a border to make it prominent. Then from the context menu of the object, select the Add Show/Hide Button option. The Show/Hide object will appear as an X. Move this into the required position and re-adjust the text object to suit too.

And that should then be it. My published viz is here.
Happy vizzin’!
Donna